| |
Thank you
for capturing my imagination while browsing your website a couple of years
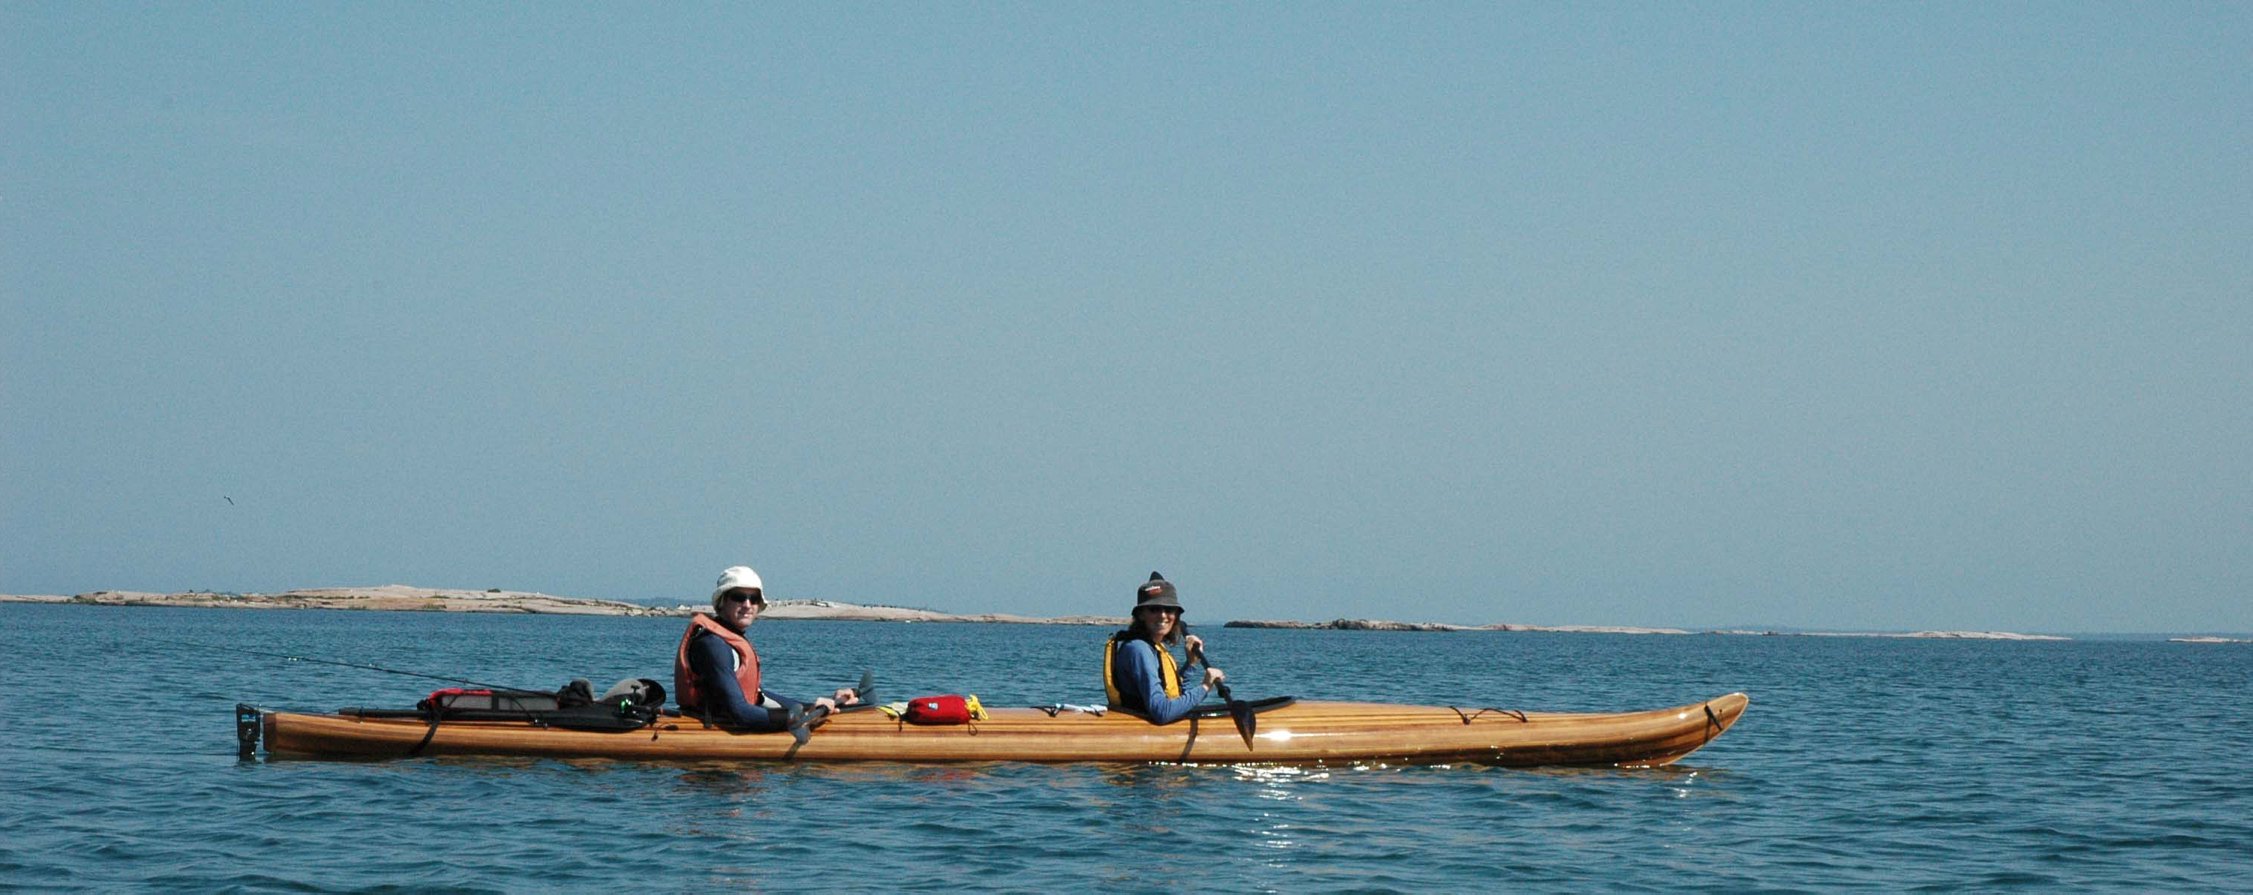
ago. Now I have also launched a Cape Ann Double on Canada Day 2006. The
maiden voyage was around the Mink & McCoy islands in the 30000 islands
region of Georgian Bay on Lake Huron. I have included some photos to share
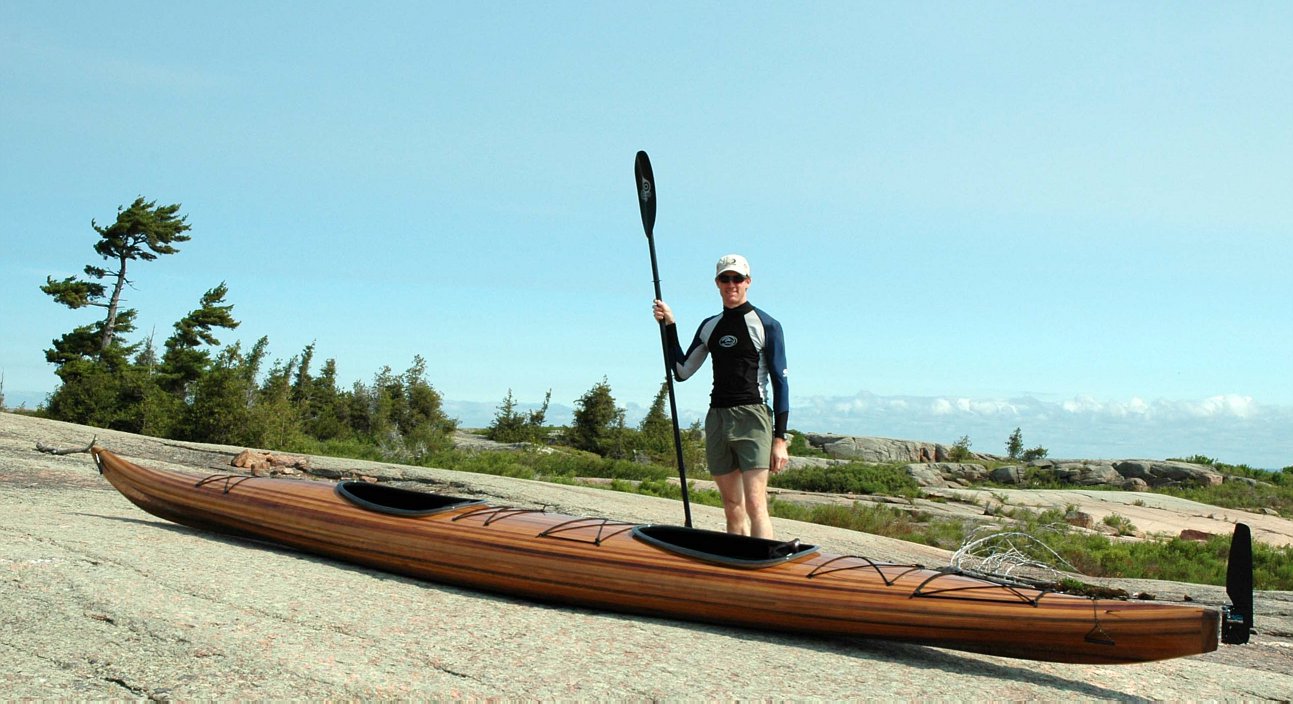
with others, of the boat in the water and on the pink granite islands
that are typical of this region. The boat looks amazing and turned a lot
of heads on the highway- maybe because it was on such a small car! It
does behave well on the highway- I used an upright on the hitch to provide
sufficient support length. The boat tracked perfectly and glided easily
through flat water, and sliced through large waves. The stability was
comfortable, even in confused seas with 15 knots of wind. There was plenty
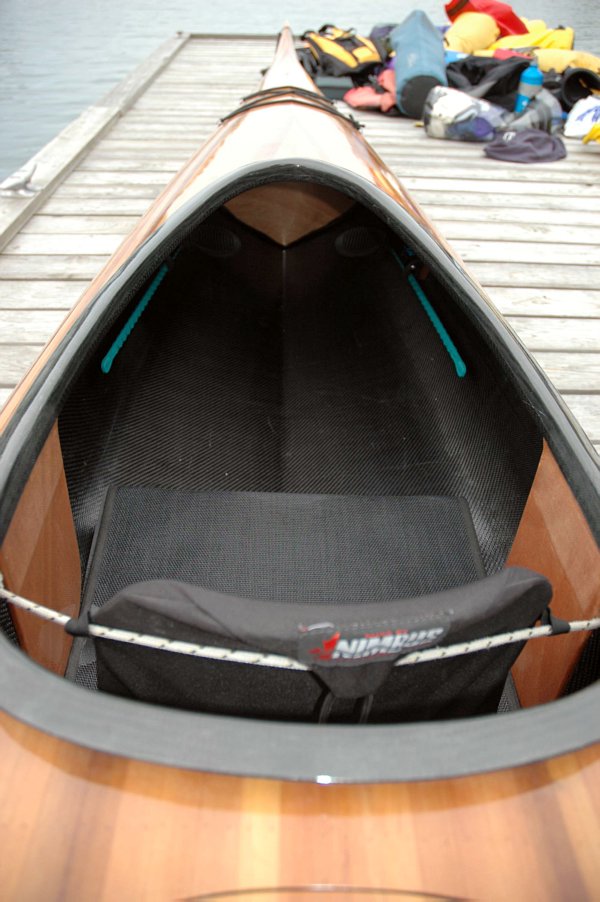
of room for gear, although a slightly larger hatch lid in the center could
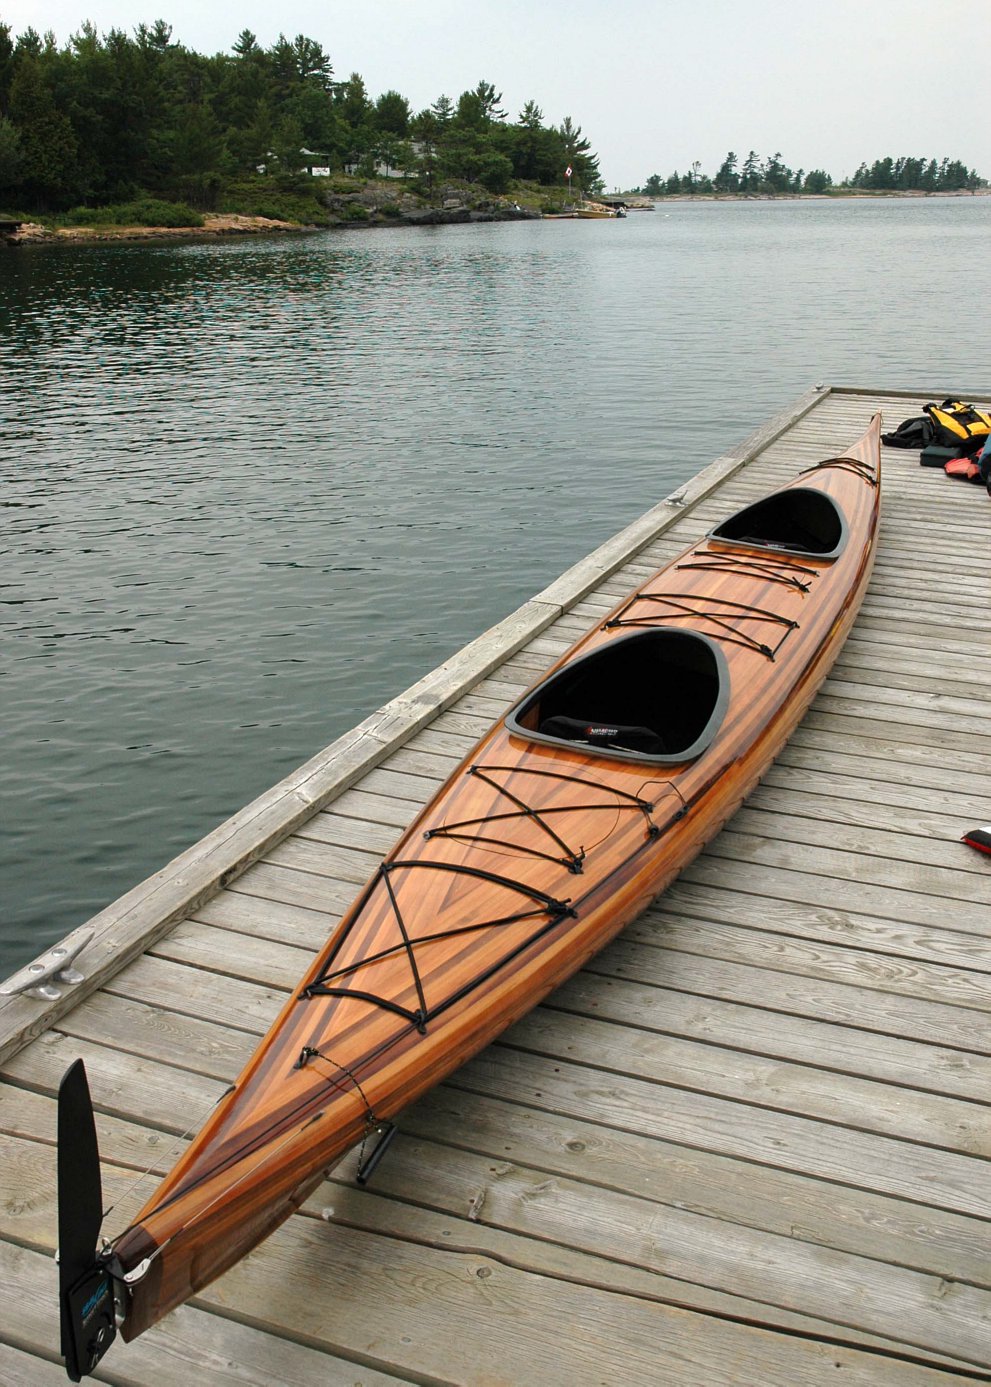
have helped with packing gear. No special inlays or exotic woods were
used since I am only a novice woodworker (dark bands are heartwood of
western red cedar), but this particular boat is distinct because I chose
to use 5 oz carbon fibre twill for the entire inside surface of the kayak,
including 5 oz carbon tape on the inside seams, and all carbon gasket
channels, instead of fiberglass. All that black cloth along with black
fittings, seats, ropes and paddles, really gives it a sleek and high tech
look, which was my goal. Of course, it is incredibly stiff and strong,
which I know has its pros and cons. I am very happy with the look of
this Cape Ann Double. The final weight was a respectable 72 lbs including
all fittings and the seats and rudder system. I dont think using the
carbon cloth saved any weight since it absorbed just as much epoxy. During
construction, I was worried about the 2 halves not fitting together perfectly
after applying the very stiff carbon fiber to both top and bottom inside
surfaces. To address this worry, I applied the carbon/epoxy to the bottom
half (inside)and let the epoxy fully set for a week, making use of the
span sticks and supports. After that, I applied the carbon/epoxy to the
top half (inside) and before the epoxy was fully gelled, I trimmed the
excess cloth, applied masking tape to the shear line joint, and strapped
the two halves together in position while the epoxy set. A week later
I separated the two halves and followed the regular instructions for the
rest. This was a foolproof method to ensure the two halves fit together
perfectly during final assembly. Generally speaking, the carbon cloth
was more time consuming to work with due to the longer wetting time. I
learned a lot from your instruction manual and website links and found
them to be a key factor to a successful conclusion to this project. I
never ran into any disasters, simply by closely following your instructions
and not skipping any steps or taking shortcuts. I learned so so much about
sanding and sandpaper during this project. I stayed away from power tools
and used a conservative approach for fear of a devastating blunder. The
fairing board you recommended definitely is the optimal tool for making
a perfectly fair surface. I strongly recommend others not to take any
shortcuts to ensure a top notch surface upon completion. I used a 2 part
polyurethane for the final coating. This is highly toxic stuff so anyone
using this should make sure to wear a proper respirator. It saved me tons
of time due to the fast recoating ability of this product. The result
is a very shiny boat. The rudder system is the Smart Track by Seal Line.
It works well and I have no problem turning the boat around and maneuvering
in waves. This project took me a couple of years since my workshop was
over 2 hours away from home, which posed logistical problems. However,
with some perseverance and dedicated weekends and late nights, it all
came together. After I put some miles on this kayak, I hope to also build
a single. Maybe Ill try the stitch and glue Cirrus for a change of pace,
and build it in my own home! Thanks Again! Joel Magnan (Toronto, ON)
|